8. Silver Gelatin P.O.P. Collaborative Research Project — Recipe #1: KCl/Citric Acid, p.2 |
STANDARDIZING THE TESTING I've settled on a set of constants that I'd like to carry through all the recipes I try for the foreseeable future. These include the paper (Arches 90 lb HP), the test negatives, and the exposure light. There will be the odd "extra," but by and large I hope to keep things as simple as possible. The world is complicated enough right now. As other contributors go forward with their own research, I encourage limiting the variables. You can always double back for a phase #2 with a different set. |
|
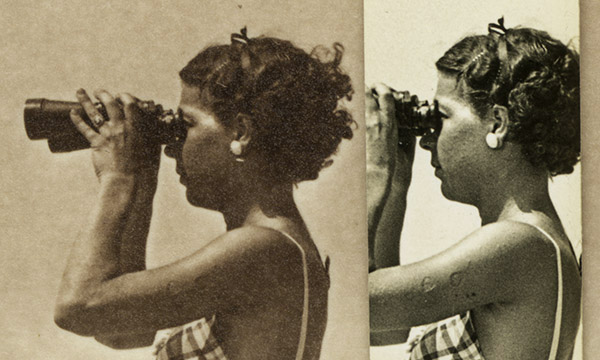
Above: KCl/citric acid POP print from a 1934 dry plate negative, alongside a strip of an AZO print made by the original photographer. The POP print is on Arches HP and the AZO strip is a high gloss surface and warm-toned (unless the paper has yellowed with age.) Below: The original photographer chose to make a tight crop of the plate. I'm guessing that it was damaged even back then. I included more of the plate so that I could show the margin of AZO base paper color with a piece of white tape for comparison. The POP print is untoned. It was processed in plain hypo (sodium thiosulfate) fixer. The jargon of POP printing can be confusing. Generally, the exposure time is considered "development" because the image appears/develops during exposure to light. A chemical developer isn't required. All that's required is hypo (fix) to remove the excess/undeveloped/unexposed silver. Toning is optional, but was usually employed. |

|
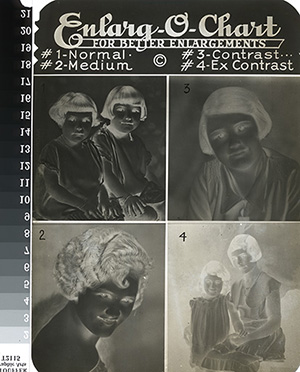
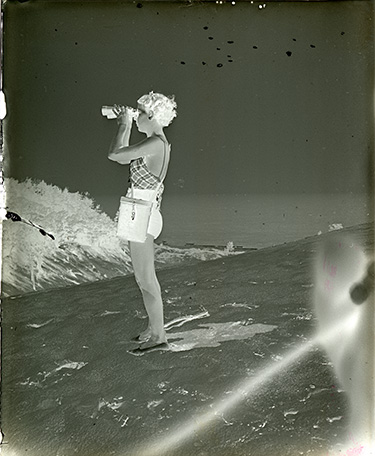
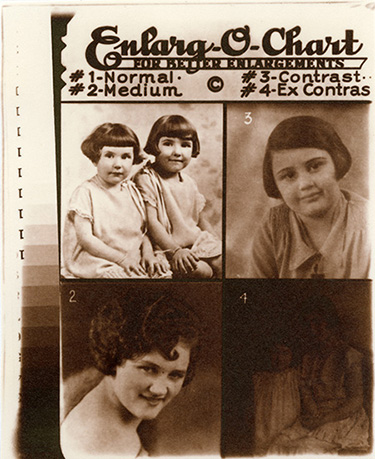
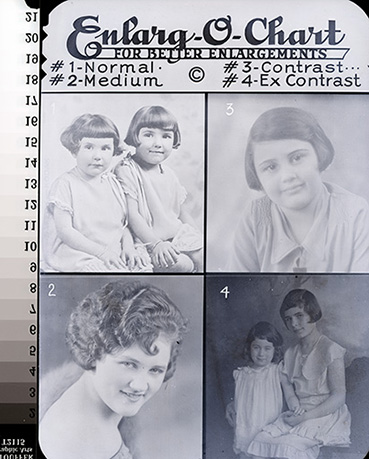
I love this old thing. Ebay, of course. I don't know how old it is, but I'm guessing 1920s from the clothes and hair. It is very severely tarnished. Below/right is from a scan of the negative, inverted and given "auto-contrast" only in Photoshop. I included a new'ish step strip to have something to calibrate against. The POP print could have done with a little less exposure, but the Enlarg-O-Chart places the paper at "normal" or perhaps "medium." Note how the emulsion cuts through the tarnish. The scanned negative lost a lot of contrast, while the POP is basically unaffected. On my To-Do list before I leave this emulsion is to run a series of test exposures to see if all four grades of contrast can be achieved. One of my primary goals for this research is having the ability to print old, tarnished negatives and plates in a way that honors them. |
|
|
|
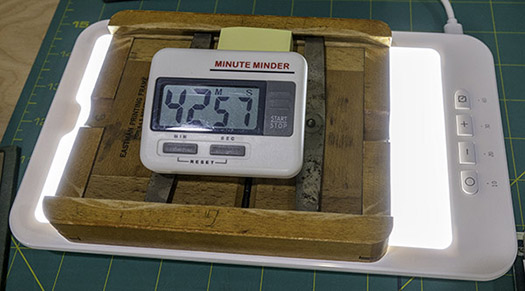
EXPOSURE LIGHT I have a UV exposure box, but for this project I'm going with non-UV light panels. Basically, they're the type sold for light therapy. Exposure time is longer than with a powerful UV printer, but the convenience, ability to customize mulitple exposures at the same time, price, low heat generation, and lack of cataract-forming light has me convinced. The exposure time is about three times longer than with my UV box, but the ability to stagger exposures to match print processing time means that the longer exposures don't matter. No time is lost waiting for an exposure to finish. |
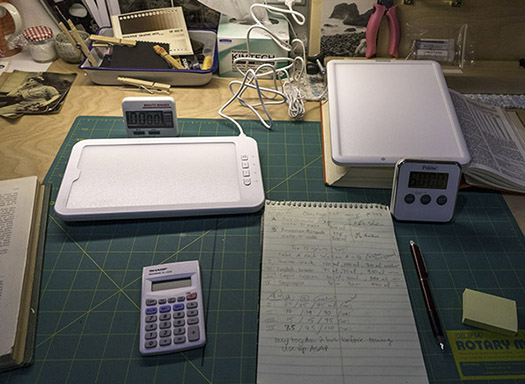
I've given each panel its own timer (inexpensive kitchen timers), although the panels have a timer function. The timers with their visual countdown and loud beeps at the end are great distraction prevention! A Post-it pad and pencil are also handy to help keep things straight, especially when a lot of different tests are happening at a time. Next page: Exposure and toning this recipe (coming soon). |
|
|
| < Reading #2 Recipe #1 - p.3 > |