11. A Developer Segue |

|
Baker's KCl Gaslight Paper is a contrasty paper. Our first dry plate recipe makes a negative naturally on the contrasty side. If we want to team the two, contrast control is the name of the game. Fortunately, the early photographic materials are inherently flexible. The recipes are as simple as can be, and easy to learn, but they have so much potential creative control that learning how to pull exactly what you want from the materials is the real learning curve. That is the origin of the mountain of formulas created to tweak, finesse and obsess to the Artist Heart's content. I have always been fond of the formulas created by Dupont under the Defender label. Defender 59-D is among my favorites. It is a "soft" developer. In other words, it was designed to tame contrast. And it works beautifully. There are additional, most simpler, developer recipes on page 13. |

|
|
Defender 59-D
Mix in the order listed, making sure to thoroughly dissolve each ingredient before adding the next. |

|
|
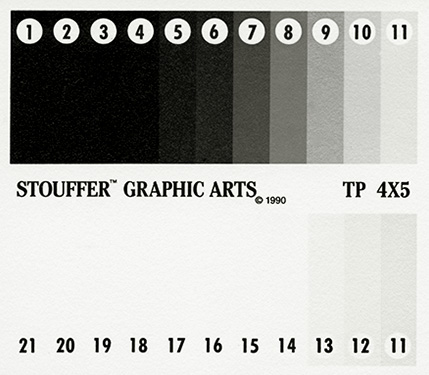
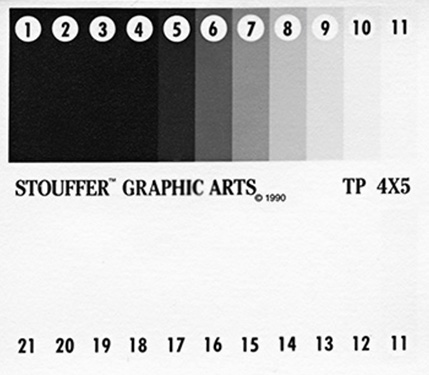
Defender 59-D pulled out an 11 step density range (left). This is a little better than Kodak's commercial formula Selectol Soft (10 steps) and considerably more than Photographers' Formulary BW-65, 1:4 (right). |


|
|
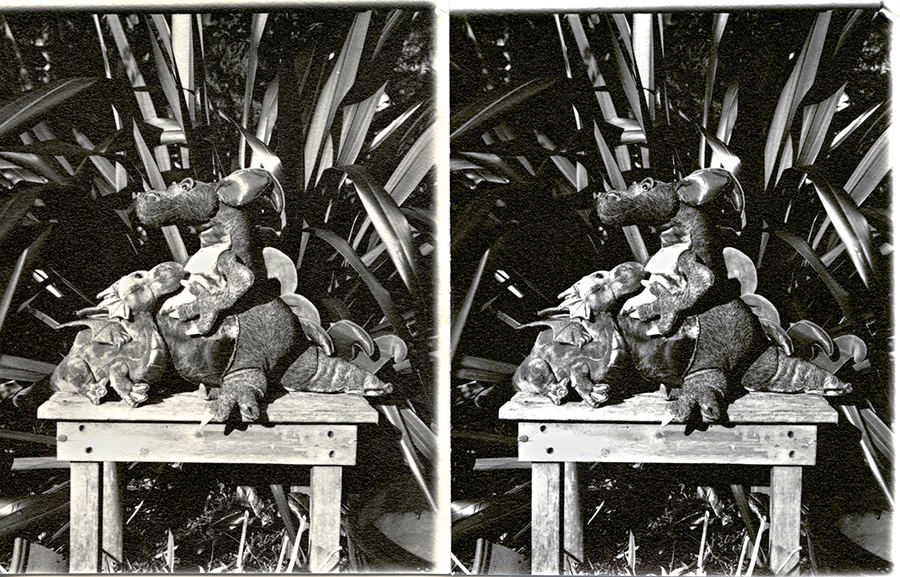
A couple more items: I hadn't used Selectol Soft for years, but I wanted to see how it worked with Baker's KCl. In all the time I've been making paper emulsions, I've never had one lift off the paper, but it did in the Selectol. First, the emulsion bubbled a bit, then frilled at the edges, and then lifted clean off. A hardening fixer prevented this completely, so all's well if you want to use Selectol—but with a note of caution. If your emulsion lifts, switch developers or use a hardening protocol. Also, gaslight paper tones beautifully in selenium. I don't personally aim for a lot of color change, but I love the slight additional depth the toner produces (not to mention the archival boost selenium toning delivers.) If you are planning on toning, adjust your exposure so that the wet print looks ever so slightly underexposed. Dry-down and toning will bring the maximum black back to where you want it. I also was able to get a little more light into the mid-values without sacrificing maximum black. The print on the left was toned in 10% Kodak Rapid Selenium Toner for about a minute. (A note for new readers: the flecks visible in the shadows are from the scanner light bouncing off the shiny gelatin, reflecting the texture of the paper. In real life, the shadows are pure, deep black.) |

|

|

|