5. Getting Started—Paper Prep |
|
|
I have a compact studio. My work island is where almost everything gets done. So, before a new project can get started, the latest one has to get cleaned up. That's the reason I tend to do a lot of one thing at a time. When I need to cut paper, I usually cut up dozens of sheets in a single session. Then, I have enough paper ready for many, many batches of emulsion. But, paper preparation is more than just cutting a big sheet into smaller sheets. Knowing your paper is key to successful coatings. All natural fiber watercolor papers have grain—the direction most of the fibers in a sheet are laid down. If you take a sheet of copy paper and fold it lengthwise, the crease is smooth the entire length of the fold. If you fold it in half across the short dimension, you can see tiny ruts in the crease. It's hardly visible with copy weight paper, but becomes more and more obvious the heavier the paper. Grain is a big issue with emulsion coating. It is important to coat with the grain. This is especially important with dry paper coating and we'll get to that technique later, but it's also important with wet paper coating—the technique we'll be using first. |
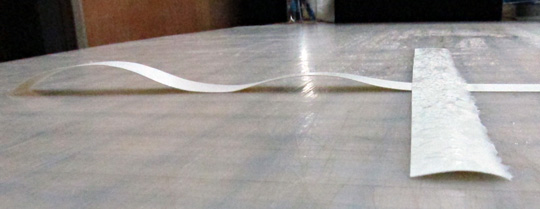
If you're new to a specific brand of paper, you need to determine the grain. Often, a paper's description on the website of the company that makes it will list grain direction&mdas;long or short. If not, the easiest way is to cut a strip from across the short dimension and one from the long dimension. Remember which is which. Place them on a waterproof surface and spray them with water. They will curl differently. One strip will washboard and the other will cup. The strip that cups is the grain of the paper. Most papers are logical as far as grain goes. The grain runs the long dimension of the paper. But, you have to test. Fabriano Artistico Traditional White, 90# HP, 22"x 30" sheets, is a grain short paper, i.e., the grain runs along the short dimension. |
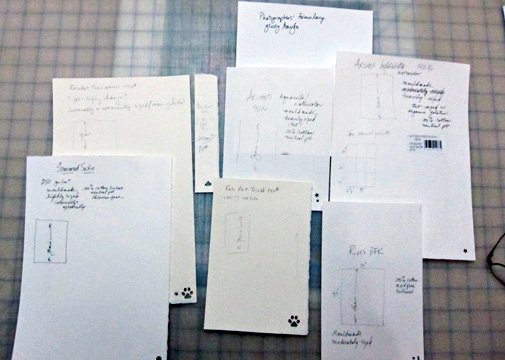
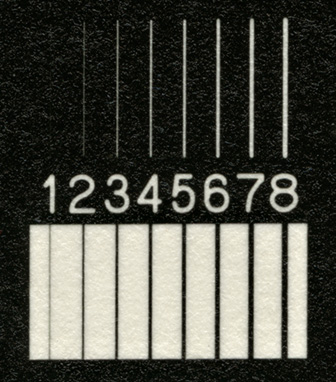
I generally cut all my paper from 22"x 30" sheets, and usually into four 11"x 15" sheets. Since I work with several kinds of paper, and it's nearly impossible to tell the different papers apart in the dark, much less see the grain, it is important to identify each and every sheet. I have a collection of different hole punches, and I've given each sheet its own code. Fabriano Artistico Traditional White 90# is a paw print and a small round hole. Each sheet of paper is punched in the lower right hand corner when the paper is oriented with the grain top to bottom. In other words, Arches 90#, which is a grain long paper, is in a "portrait"/vertical orientation for coating, and Fab Art is in a "landscape"/horizontal orientation. I record the details of each paper on a sample of that paper. 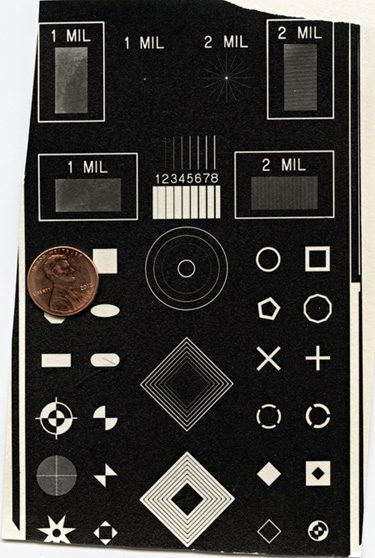
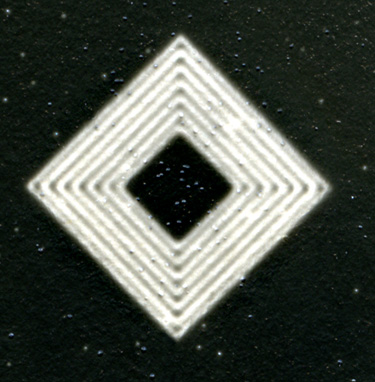
Wet paper coating eliminates the biggest bugaboo of coating: paper buckling. Since the paper is already wet, it doesn't cup or washboard. You'd think that grain wouldn't matter in that case, but it does. If you coat against the grain, the emulsion can form teeny, tiny bubbles. Left: A print of an old registration target from printed circuit board making days, and a penny for scale. The paper was coated correctly with the grain.
Below, left: A crop of the print. The small flecks visible in the black are scanner light reflections off the shiny emulsion. In "real life" the black is deep and unblemished. Below, right: A crop of a print coated against the grain—teeny, tiny bubbles. |
|
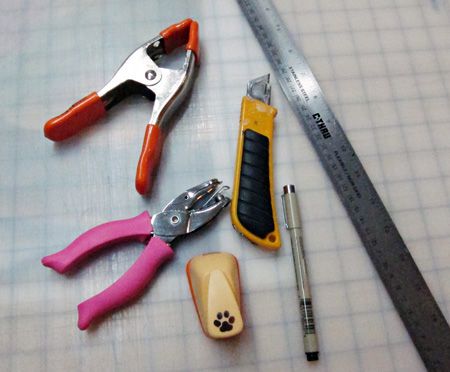
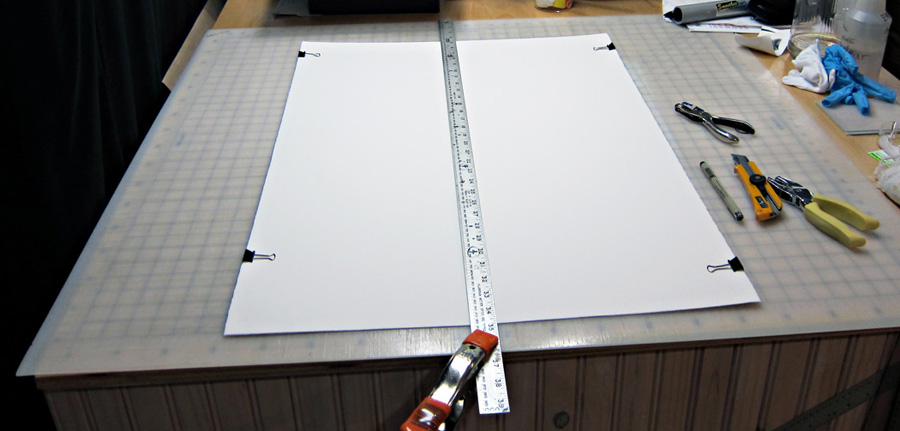
Cutting paper is pretty straightforward. |