Dry Plate Photography |
|
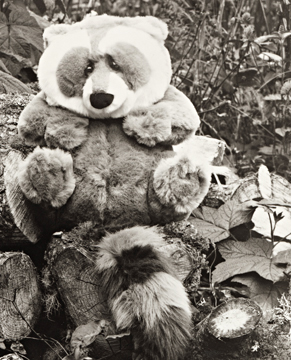
| 'Pancho and Herman' |
| Enlargement of 5"x7" plate on Ilford Multigrade FB |
|
|
A Philosophical Digression
I didn’t start out to become a dry plate photographer. My interest was in making contact printing paper. But, as is so often the way, one thing led to another in a natural progression — and it is hard to imagine anything in photography that could be more satisfying. As long as a few basic chemicals are available, I’ll never reach the end of a creative path. I could preach a sermon on the virtues of 'do-it-yourself', and they are undeniable. But, rather than state the obvious, I’m going to digress here into a personal philosophical aside. Those of us who love photography can find ourselves in a bit of a dither. Today, with the incredible cameras available on just about any budget, photos are everywhere. Great photos are everywhere. Every magazine, every website — every club calendar! — has truly stunning photography. Sure, a lot of it is banal, but that’s part of the problem. It is hard to go out to a pretty place, with the idea of taking a picture, without hearing the devil on your shoulder whispering, "Now, that’s been done to death. What do you think you can add?" The inevitable answer to that sad question is that most images get left as thumbnails on a computer. That’s unacceptable. So, change the question. "What can I learn and what do I see that will help me learn it?" Old, color-blind emulsions respond differently than modern emulsions to light and color. "What can I find in my backyard that helps me understand the nuances?" When your photography becomes a quest for knowledge, life stops being about collection and competition. Remember when you were first learning about photography? Every exposure was an adventure and every roll of film a source of pride and joy. Do you remember when that changed? When self-censorship set in and photography turned into a contest with other photographers or worse, with yourself? Learning to make the old emulsions opens up a world of questions — and opportunities to answer those questions. Any subject you can think of becomes a new avenue of exploration. Go for it. |
|
 |
 |
 |
 |
|
|
Below is a sampling of printing possibilities from one dry plate. 'Pancho #2' is a 4"x5" plate made with TLF #1 negative emulsion (The recipe follows on page 2a.) It was exposed on a bright overcast July afternoon for 5 seconds at f/22 and developed for five minutes in Def 55dwr general purpose developer (here). |
 |
Dry Plate Glass Negative
On the left: flatbed scan Below: Inverted and flipped with no other Photoshop adjustments. 
|
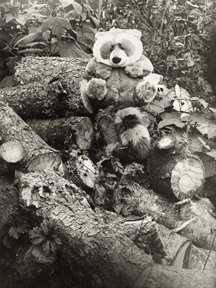
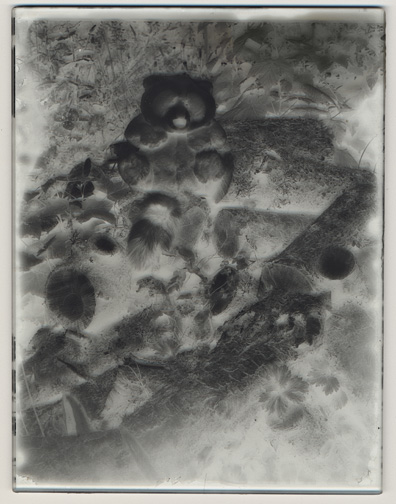
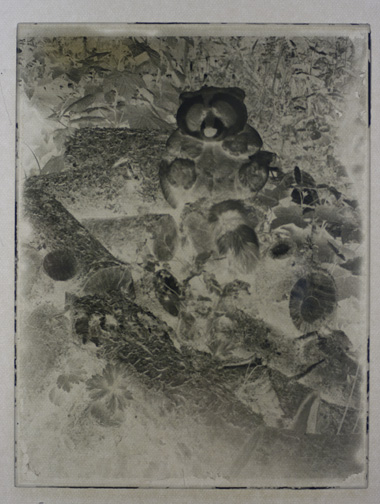
Digital Print from Flatbed Scan
This digital print is from the flatbed-scanned dry plate above. I chose to include the plate edge artifacts. They could be cropped out, of course, but I like seeing the handmade’ness of a process. The Photoshop manipulations are limited to an unsharp mask (15/35/0), curves, and selective use of the 'burn' and 'dodge' tools in CS2, along with 'color control'. This process results in a very distinctive appearance. The light from the scanner bounces around in the glass and accentuates the halation effects. Even though this plate was well-exposed and developed and had very little halation to start with, what little there was is visible. If 'different' is where you want to go, this is it. Epson Ultra Premium Presentation Paper Matte, Epson 2400 printer. |
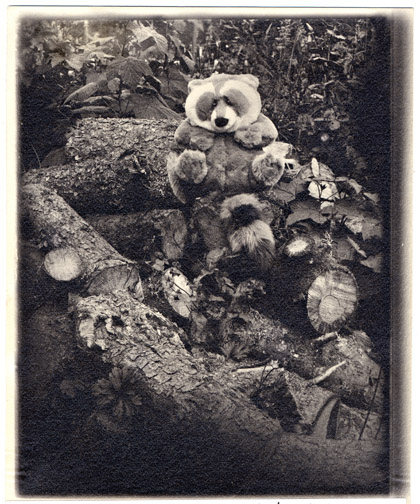
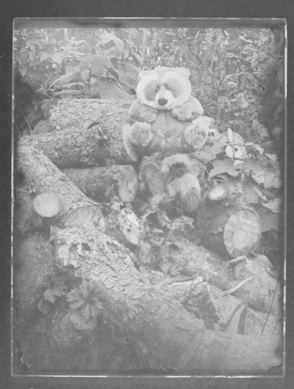
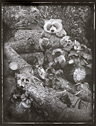
Contact Print
'D.I.Y.' from start to finish. I contact-printed the plate on handmade paper. This is the combination I am using for my dry plate portfolio. Both the plate and the paper were developed in 'Def 55dwr' general purpose developer here. The paper is 'Warm ♥ Emulsion' (here) coated on Rives Lightweight watercolor paper, which was first coated with 'TLF Baryta' here. Selenium-toned. More information on contact-printing glass plates here. |
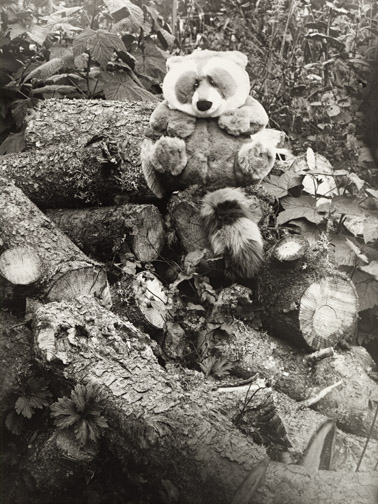 |
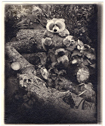
Traditional Enlargement
An enlargement from a dry plate that has been well-exposed is almost indistinguishable from an enlargement from commercial film (except for the color idiosyncrasies of non-panchromatic emulsion.) I printed this with a Zone VI enlarger — the plate set over the opening of the top half of the 4x5 negative carrier. Ilford Multigrade FB, Agfa 108 high-contrast paper developer from The Darkroom Cookbook, 2nd Ed, by Stephen G. Anchell.
|
|
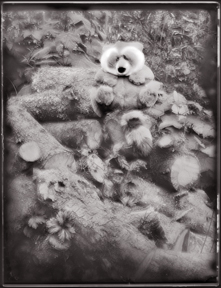
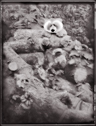
Emulsion Transfer with Selective Handcoloring
'I ♥ Emulsion' with a couple additional drops glyoxal hardener, first coated on commercial baryta paper (here) and contact-printed with the dry plate and processed in my usual manner until the final wash water. I held the wash at about 75 degrees F (rather than my usual 65-68 F) and constantly agitated the print. As the emulsion started to separate from the paper, I gently helped it along. After it was free of the paper, I finished out the washing time and then slipped a piece of YUPO synthetic watercolor paper (here) under the emulsion in the water and straightened and flattened the image as I pulled them out to dry together. They dried as an inseparable fusion. The emulsion swelled during the process from 4"x5" to 5"x6.5" and the dmax decreased. After the paper and emulsion were completely dry, I painted on the back of the YUPO. YUPO is translucent so the color subtly shows through. |
 |
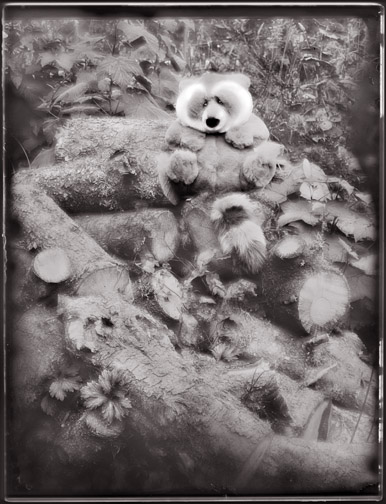
Same Dry Plate, Yet Another Take on Things — An Inkjet Print from
a Photographed Plate
The dry plate, on a light table, backed with YUPO, was photographed with a digital camera (Pentax K20) Below: K20 file, inverted with no other PS manipulations.
|
 |
|
||||
| Besides the many printing options, each with its own distinctive look, gelatin dry plates can be handled the same as you would (non-panchromatic) commercial film. In addition to three different recipes, the following sections will look at the various tools, materials, and techniques available to the modern dry plate photographer. |
|
Replace This Text in js
Replace This Text in js
|
Copyright © The Light Farm |