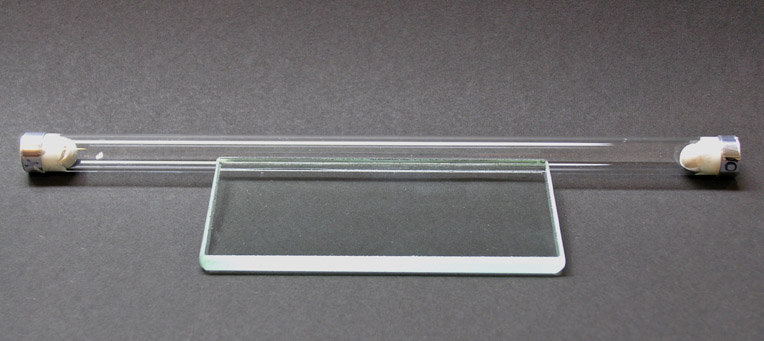
Materials:
1) Glass coating rod / Corning 'Puddle Pusher'
2) 3M polyester tape #850, 1/4 inch size
3) Wall stickum putty (the kind used to stick ID cards to the wall next to a photo hanging at a gallery — I favor UHU tac).
Paper and CoatingPuddle Pushing on Wet Paper |
|
Puddle Pushing on Wet Paper
(and coating rod prep for use with an emulsion well)
|
|
 |
Materials: 1) Glass coating rod / Corning 'Puddle Pusher' 2) 3M polyester tape #850, 1/4 inch size 3) Wall stickum putty (the kind used to stick ID cards to the wall next to a photo hanging at a gallery — I favor UHU tac). |
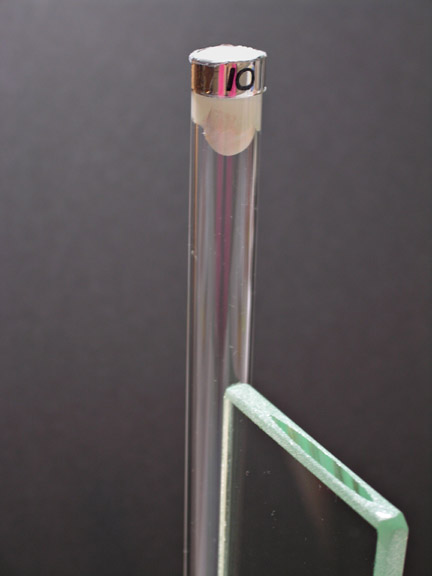 |
Wrap the tape in tight, smooth, even, overlapping wraps starting on the handle edge of the rod. In permanent marker, note the number of wraps. Each wrap increases the coating depth of the emulsion. Stuff the open ends of the glass rod with putty. The emulsion is a bug to get out of the glass rod otherwise. Push it in far enough that there is no drag as you pull the rod down the paper trough. Note: All materials, including hands, must be kept impeccably clean at every step. |
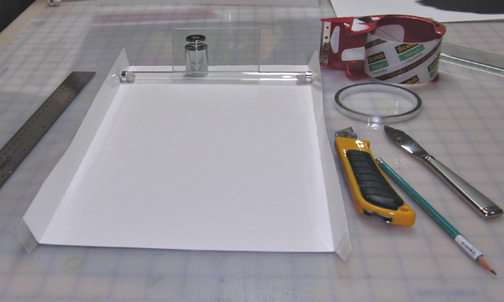 |
1) For a 9-inch rod (the size for 8x10 inch prints), divide a 22x30 inch sheet of watercolor paper into four 11x15 inch pieces. From the front side of the paper, measure a border half the width of your tape. (15/16 inch for Scotch "Storage Tape"). Take the time to draw the line. It is important that the edge of the tape go down straight. Carefully keep the tape smooth on the inside surface. Wrap it up and over the back. It will be harder to keep the back side smooth, but that's not important. With a ruler and a butter knife, dent-score the paper along the edge of the tape and fold up a coating edge. Hold the PP on this edge and mark the other side in three places. Make the second edge along that line. |
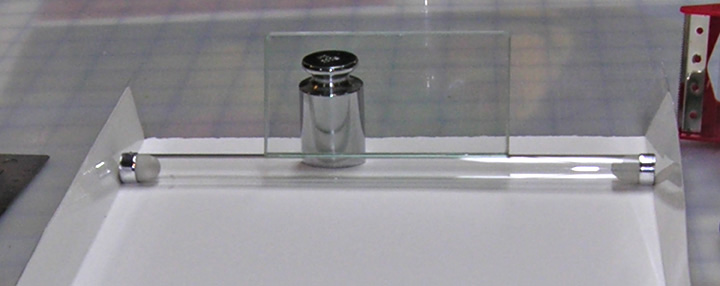 |
The Puddle Pusher fits exactly within the paper trough, with just enough wiggle room to pull the rod smoothly down the paper. |
|
A Big-Ol' Important Thing: Grain counts. Not all papers equally, but to some extent, for all of them: grain counts. Two pieces of glossy baryta paper from the same 11x14 inch size package, both prepared as emulsion troughs for puddle pusher coating and soaked for a few minutes. The one on the right is half a sheet cut across the short dimension: 7 x 11 inches (i.e. One 11x14 inch sheet becomes two 11x7 inch pieces.) The piece on the left is a 11x7 inch section cut from an 11x14 sheet, with the grain running opposite to the right hand piece. The grain/swelling direction is evident. One sheet will lay flat almost without needing to be squeegee'ed, the other couldn't be flattened with a steam roller. Therefore, if one wishes to coat an 11x14 sheet of baryta (at least the version sold by Photographers' Formulary) you must cut from a piece large enough to get the grain right. |
||||
|
|
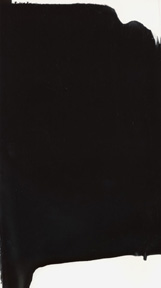
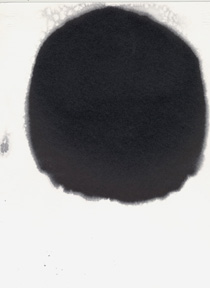
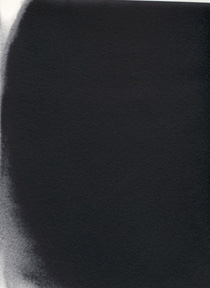
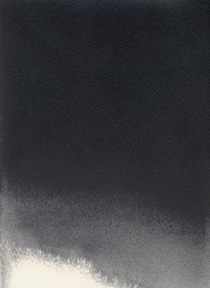
Puddle-Pushed Paper Samples
Straight flatbed scans. No sharpening or spotting. From left to right: Baryta 5.23 x 9.35 inches (coated with a 5in PP), Platinotype (8.5 x 11.68in), the maximum size for my scanner, Rives BFK (8.5 x 11.68 in), Saunders Waterford (8.5 x 11.68), Somerset Satin (8.5 x 11.68). Any uneven appearance is an artifact of the tooth of the paper. All the sheets look great in their areas of max black. The baryta may coat better with the PP than it does with a Mowrey blade. |
 |
 |
 |
 |
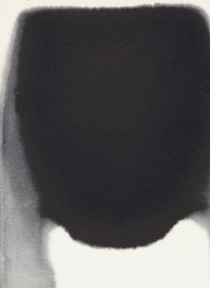 |
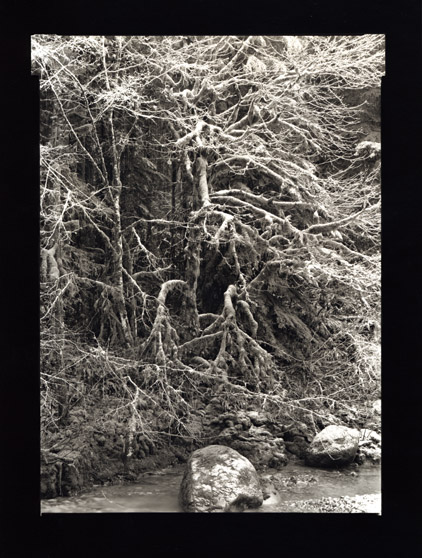 |
TMax 100 5"x7" film contact printed on Photographers' Formulary baryta
paper wet-coated with 'I ♥'
emulsion. (full and crop x 300%).
|
|
Replace This Text in js
Replace This Text in js
|
Copyright © The Light Farm |