by Kevin Klein
Dry Plate PhotographyKevin Klein's Emulsion Recipe |
 |
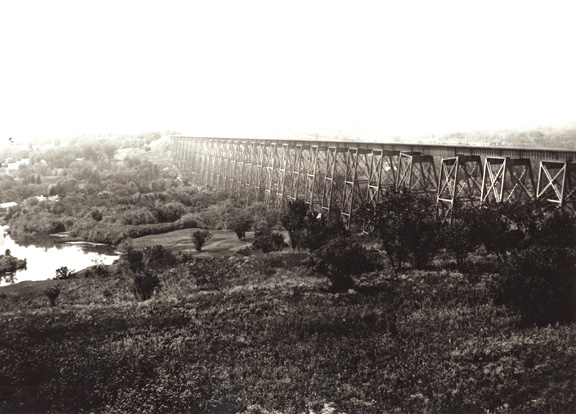
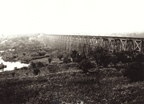
| 'Hi-Line Bridge' |
|
Enlargement of 4"x4" plate on Ilford Multigrade RC
by Kevin Klein |
|
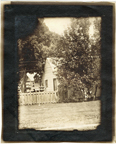
Kevin Klein has developed a wonderful recipe, simple and basic. The resulting prints are indistinguishable from historic prints. This is the way to go if your goal is the true 'old-timey' look for either personal taste or re-creations of period photography. The print below, a quarter-plate size dry plate, contact-printed on handcoated albumen paper, looks like it stepped out of a museum. As always, the essence of a print can only be approximated on a computer screen. The living print has 'soul'. |
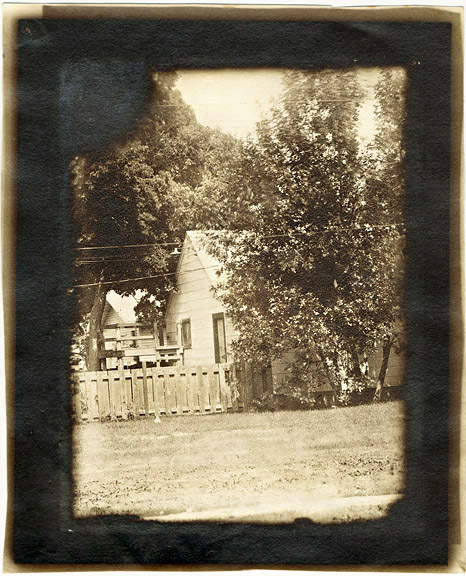 |
| Neighbors’ Back Yard |
Kevin Klein’s Basic Washed Emulsion |
|||||||||||||||||||||||||||||||||||||||
|
This is an extremely simple but highly effective recipe.
It produces a very slow emulsion (ASA ~3).
|
|||||||||||||||||||||||||||||||||||||||
|
For everything that follows, use distilled water, and rinse all implements with distilled water before use. Cleanliness is essential ! Mix separately (in normal room light):
Add the gelatin to the water and allow to swell. Put the container (preferably stainless steel, like a 2-reel still film developing tank) into a water bath and raise the temperature to 50°C/120°F. Add the potassium bromide and stir or swirl continuously until both ingredients are dissolved.
All of the following steps must be conducted under a red safelight! Stirring continuously, add solution B to solution A in small, regular quantities, so that the addition takes 10 minutes to complete — about 5 ml every 30 seconds, or, 1 ml/5+ sec. Filter the finished mixture through muslin cloth — make sure to thoroughly rinse the filter material with distilled water first! Then, set, shred, and wash emulsion with cold water (tap or distilled, at least 50°F or colder). To wash: Put the emulsion shreds in a container of water and agitate a few seconds. Let sit for 3 minutes, drain and repeat three or four times. Make the last wash with distilled water. Tip: Hold a piece of plastic (not aluminum) window screen over the container when draining. Remelt the emulsion and add the following reagents.
The emulsion is now finished and ready to use! Store it in a light-tight container. Make sure to label it so as not to open it accidentally in white light! To use, heat so that the gelatin melts -- 35°C/95°F might be a good starting point, but the consistency will depend on the temperature, and so this will be a matter of personal preference. Refrigerate it in the meantime. Coating: Coat on clean glass plates. Ordinary dish soap and water works well. A clean fingertip or glass rod can be used to help spread the emulsion. A fairly thick coat gives good, dense negatives. Development: Develop in a standard developer and fixer. Use cold water for rinses, and make sure no solutions are over 20°C, otherwise the emulsion might come off. Bear in mind that the wet emulsion is very fragile and scratches easily, and that it is susceptible to veiling, running, and reticulation — all of which make working with hand-made emulsion exciting. You really should use a hypo-clearing agent at the end, as it is a silver image and will degrade if left contaminated with fixer, but the longer it’s in any solution, the greater the risk of falling off, so use your own judgment. If you’re just using it as an image source from which to print back onto regular film, this isn’t an issue. One developing method might be:
A few rinses in denatured alcohol (or any alcohol) will dry
very quickly. Kevin Klein
Note: This recipe was modified on 12/18/09 to increase the hypo solution addition from 0.02% to 0.2% in order to achieve greater sensitivity/'speed'. |
|
Click on the thumbnails for a larger view. |
||
Kevin Klein |
Kevin Klein |
Kevin Klein |
Kevin Klein |
Kevin Klein |
Kevin Klein |
|
Replace This Text in js
Replace This Text in js
|
Copyright © The Light Farm |