SEAWATER DRY PLATE EMULSION:
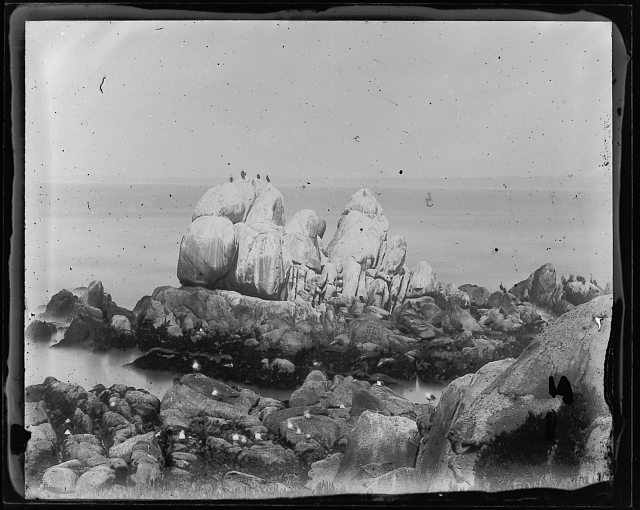
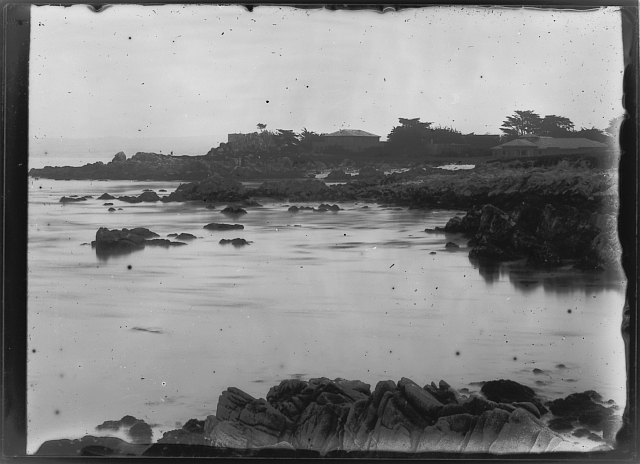
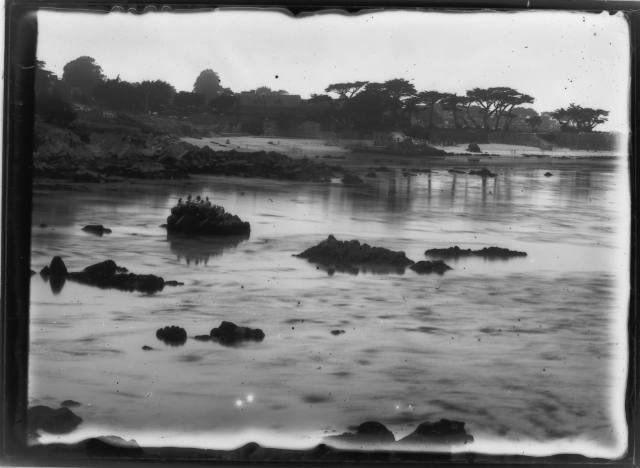
This formula is different than other dry plate emulsions. I like slow emulsions to get time dilation effects (water mists out, people blur or disappear). It is really fun to see people's expression when you mention it is made with seawater from the ocean. You develop it in vitamin C. As an added benefit, this formula is relatively simple.
1) Mix these two solutions:
Solution A:
- 80 ml Seawater (or sea salt mixed to 3 grams/100ml)
- 6 grams high grade hard photographers gelatin
Let soak until everything is wet (about one hour). Warm to dissolve the gelatin. A microwave works great for this step. Do not boil.
Solution B:
- 20ml of distilled water
- 5.6 grams of silver nitrate
>>>LIGHTS OUT. Red or OC safelight fine.
2) Add silver nitrate solution (B) to seawater/gelatin solution (A) while on a magnetic stirrer (or stirring rapidly by hand).
Adding (B) slowly = lower contrast, quickly = higher contrast.
3) Place beaker with emulsion into light tight container. A stainless steel developing tank works great for this.
 >>>LIGHTS OUT. Red or OC safelight fine.
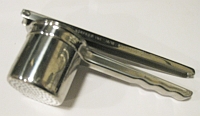
5) Put the solid emulsion through a small stainless steel ricer used ONLY for this purpose (don't return it to the kitchen) into one quart of cold distilled water in a light tight container and store in a refrigerator over night. (Trader Joes sells hemp protein in a perfect container for this.)
>>>LIGHTS OUT. Red or OC safelight fine.
6) Next day, pour off water and add fresh cold distilled water. Let sit over night in refrigerator.
Repeat again for a total of three overnight washes.
>>>LIGHTS OUT. Red or OC safelight fine.
7) Filter the emulsion 'worms' out of the water and the squeeze the excess moisture out. Cheese cloth or similar acid free material works here. Don't squeeze so hard the emulsion is squeezed through cloth.
8) Put the emulsion into a beaker at least twice its volume and heat until nearly boiling (BUT DO NOT BOIL!) for approximately 90 minutes. Don't use a microwave for this step, but a hot water bath. I have found that putting your beaker of emulsion into a light tight film developing tank with water up to the half way mark of your beaker and then putting this onto a cup warmer works great.
>>>LIGHTS OUT. Red or OC safelight fine.
9) While still warm, filter the emulsion through 10 micron mesh to remove large crystals, dust, etc. and divide the emulsion into quantities equal to what you are likely to use for pouring plates at one sitting. I find that those old black plastic Kodak film canisters work great. They hold 25 ml of emulsion until you are ready. The formula makes 100ml of emulsion or 4 Kodak canisters. (A 4x5 plate needs 4 ml and a 5x7 plate needs 6 ml.)
Preparing plates: This method comes from the wet plate people, but works for us as well.
Cut plate to proper size using standard glass cutting methods. Using a file, edge all edges of the plate. The diamond side of the file that comes on a Leatherman is fantastic for this step. This helps prevent cuts and helps prevent the emulsion from running off the edge during pouring.
Clean the glass with soap and water to remove grease, glass chips, etc. Wash well with clean water.
Make up:
- one part powdered white chalk from hardware store
- one part alcohol (can be denatured or isopropyl, but at least 95%)
- one part distilled water.
Put this into a bottle that can be shaken and has a spout.
Shake well before use. Pour some out on the surface of the plate and while wearing rubber gloves, polish the surface of the plate thoroughly using a paper towel.
Wash off and dry with paper towel to leave no water marks.
You do not need Ajax, Comet or SoftScrub if you follow the above procedure.
>>>LIGHTS OUT. Red or OC safelight fine.
Pouring plates
Place a metal film developing canister on a cup warmer with a small amount of water inside. Place one of your aliquoted emulsion containers inside to melt the emulsion. By using the light tight, but not air tight lid of the developing can, you can turn on the lights in the room while this is happening. Remember to turn out again before removing from the "cooker".
Place clean plates on warm surface, clean side up. I use a temperature controlled warming plate for histology, but I suspect those tea warmer trays would work as well. Should not be hot enough to boil water though.
VERY IMPORTANT THAT THIS SURFACE BE ABSOLUTELY LEVEL in both X an Y directions. Failure here could result in pooling of emulsion to one side or worse, the emulsion running off the plate.
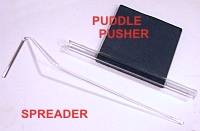 Using a syringe, measure out needed amount for one plate and place onto the center of the plate. Using a spreader glass or puddle pusher push the emulsion around the plate until the entire surface is covered. Tapping the spreader glass against the plate helps level the emulsion. You can pop bubbles with a twisted piece of paper towel poked at the bubble. New twist for each bubble. A wet twist does not work as well.
Let the plate sit a few minutes to help ensure an even surface.
Carefully transfer the plate to a level piece of metal that has been cooled in a refrigerator. The plate will set up in a minute or so because of the cold.
Once set up, transfer the plate to your dust free light tight drying box.
You can work this assembly line fashion and get 10-20 plates done in a setting, depending on size.
Each time you reheat the emulsion the speed of the emulsion will go up until eventually it will fog and be no useful. The longer you have the emulsion, at any temperature, the higher the speed, including the prepared plates. Best to prepare the plates no more than a week before you intend to use them.
Initially I find the ISO at 0.13, but it will eventually reach ISO of 2 by the end of life. You will need to make extra plates to anticipate some adjustments and testing of current speed. Yes, this is a pain, but also the reason why everyone jumped on commercially prepared consistent plates as soon as they came out.
Developing:
I worked out my own developer for the plates after trying many alternatives.
To make one liter of developer (easy to make smaller quantities as this does not keep)
- 970 ml of distilled water
- 6 grams of sodium metaborate (Kodalk or balanced alkali)
- 3 grams of Vitamin C (yes, the vitamin. if you get powder from health food store don't get sodium form)
- 0.5 grams of potassium bromide
- 30ml of 1% phenidone dissolved in 95% alcohol (ethanol, denatured or isopropyl will work)
>>>LIGHTS OUT. Red or OC safelight fine.
Plates will develop in 2-3 minutes in the above in a tray. Development is less even in tanks.
Water rinse to remove developer. This is a low pH developer and an acid bath is not really needed.
Fix in normal film fixer. Rapid fix works fine and helps harden the emulsion.
Wash, photoflo, etc. as with any film.
NOTE: The emulsion will not handle abuse as well as modern films. It is very easy to scratch and warm water will dissolve the emulsion off of the plate.
All of the above should yield you a negative with good density. Higher than with modern films. Ideal for alternative processes like albumin, calotype, Ziatype, etc.