|
Equipment and Materials Needed
Equipment:
Much of this equipment can be used for other historic photographic processes.
The hot plate/stirrer, for example, is one of those pieces of equipment that is
a great help for mixing all sorts of things. Pyrex glass beakers in assorted
sizes are essential in every historic process darkroom. The crock pot and potato
ricer are however specific to gelatin emulsion making, an activity very similar
to cooking.
- safety goggles
- latex gloves
- Pyrex "tempered glass" laboratory beakers; one 500 ml & two 300 ml size.
- 1½ quart Pyrex "tempered glass" loaf baking dish for chilling
- heat source*
- thermometer (digital thermometers are cheap and perfect for emulsion making
particularly when they have a built-in alarm)
- 3 quart glazed ceramic or stainless steel mixing bowl
- stainless steel wire mesh drainer big enough to rest in the opening of the
aforesaid mixing bowl
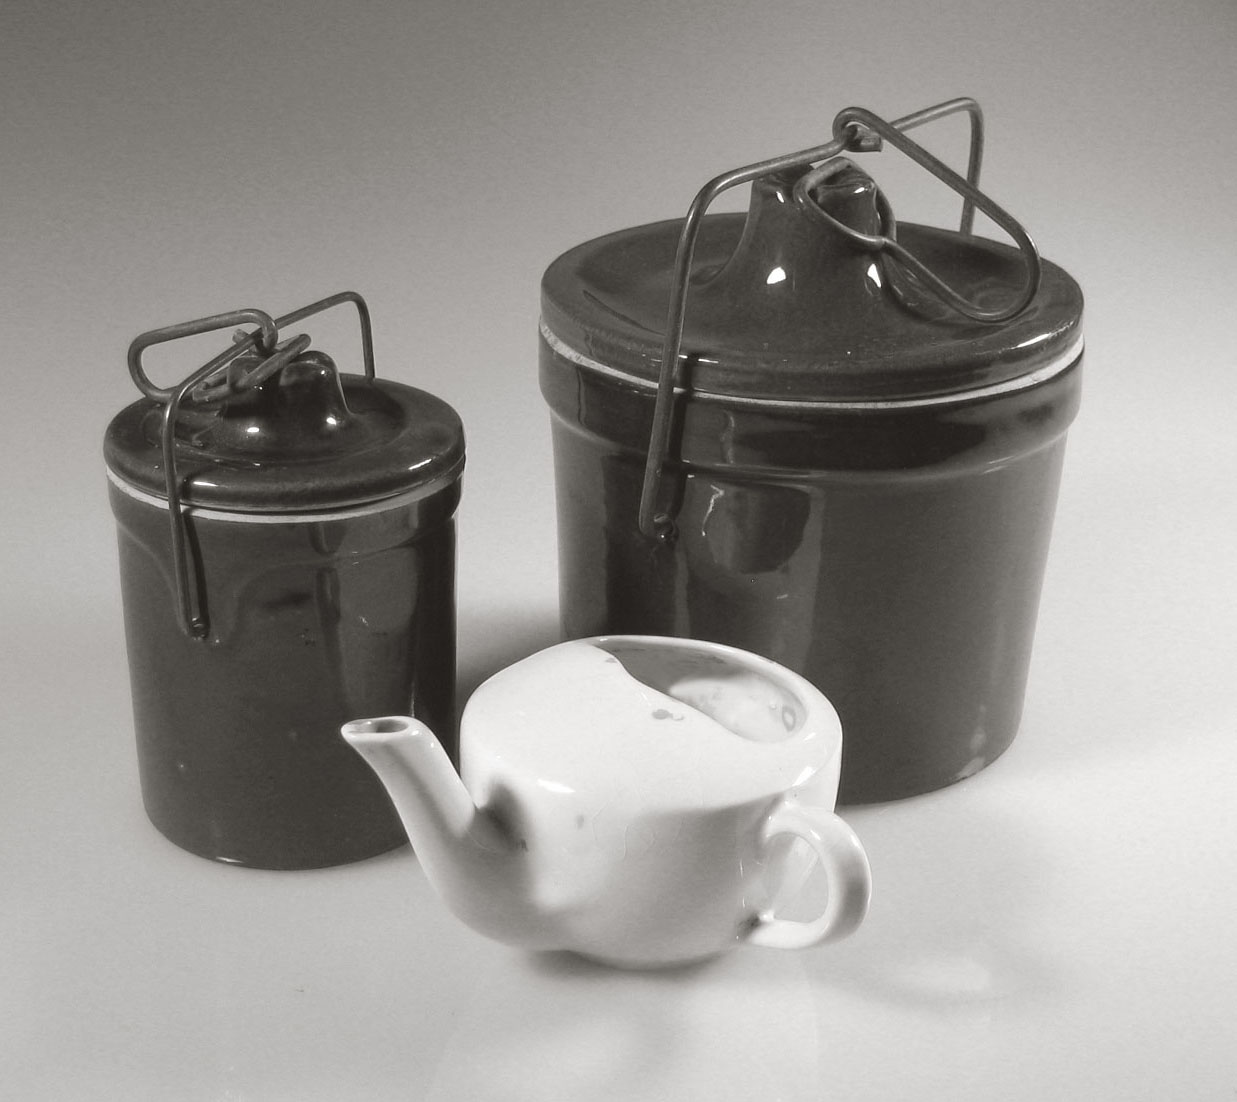
- small brown ceramic cheese crock with wire locking ceramic lid
- 1 square foot of black plastic sheeting (must be opaque)
- 1 gallon bag made of black plastic sheeting (must be opaque)
- large plastic syringe (60ml/cc)**
- heavy duty stainless steel potato ricer
- refrigerator (a small dormitory type is perfect or use your household
refrigerator) and ice cube tray
- electric crock pot
- 25" square piece of sheer white nylon or polyester cloth (for filtering)
- stainless steel spoon
- glass stirring rods
- red or deep amber safe light
* You can use a sauce pan on a hot plate or the crock pot (also listed) but a
laboratory hot plate w/magnetic stirrer is perfect for emulsion making and well
worth the expense. You can purchase them second hand on line.
** The Terumo brand 60 cc Syringe with Catheter Tip is perfect except that the
opening of the tip is too wide. Go to the hardware store and buy a tube of glue
that comes with a separate tapered tip of the same size. Make a pin hole in the
end of the tip with a hot needle and push this firmly over the catheter tip of
the syringe.
Materials:
The quantities listed below are for making one batch of approximately 350 ml
emulsion. Naturally it is a better plan to buy larger amounts any time you buy
these materials as they are generally less expensive when purchased in quantity.
- 1 liter distilled water
- 10.5 grams potassium bromide
- 0.4 grams potassium iodide
- 12 grams silver nitrate crystals
- 21 grams gelatin (photographic grade is best, but you can use food grade)
- 5 grams chrome alum
- 1 grain thymol
- 5 ml 95% grain alcohol
Making the Emulsion
Take the time to read and visualize all of the following steps before you
attempt to make the emulsion. You may want to practice step 5 with plain water
to feel comfortable with the technique. Preparing all the materials and
equipment prior to working under safelight conditions will make the procedure
much easier to perform.
1. Put 3 grams photographic grade gelatin into a 500 ml Pyrex glass beaker with
85 ml distilled water. Allow at least fifteen minutes for the gelatin to become
fully swollen and easily flattened (or squished) between the fingers. This is
called the "first melt" gelatin.
2. Put 18 grams photographic grade gelatin into a 300 ml beaker and pour enough
distilled water to cover the gelatin. Allow this gelatin to absorb as much water
as possible. Different sources of gelatin absorb more water than others. You may
need to add more water at a later time. This is called the "reserve" gelatin
which will be drained and added to the emulsion after the first melt.
3. Dissolve the swollen first melt gelatin by placing the beaker in a hot water
bath such as a small sauce pan with water on a hot plate or in a crock pot with
just enough water to the level of the gelatin solution. You may also use a hot
plate stirrer as long as the solution is kept in motion with the magnetic
stirrer. Using a thermometer, try to keep the temperature around 120 degrees F.
4. Put 10.5 grams potassium bromide and .4 grams potassium iodide in the first
melt gelatin and stir the solution until the halides are fully dissolved.
[Every operation after this should be done under red safe light. The darker the
safe light and the less time you have the emulsion exposed to it, the better]!
5. Prepare the silver solution by dissolving 12 grams silver nitrate in a 300 ml
Pyrex glass beaker with 85 ml distilled water. Heat this silver solution to
around 120 degrees F (50 C) and draw some of this solution into the syringe.
Slowly squirt the heated silver solution in a continuous stream with the tip
below the surface of the gelatin halide solution while you stir it continuously
(this is where a hot plate stirrer comes in handy). Refill the syringe and
continue until all the silver solution has been added to the gelatin-halide
solution.
[When making more sensitive emulsions you can be more accurate if you use a
musician’s metronome to keep you on track as you gently and continuously push
the plunger of the syringe. Try to make the plunger pass a ml marking on every
click, or every other click, of the metronome.]
6. As you combine the silver with the gelatin-halide solution you will see the
two clear liquids change into a milky white silver bromo-iodide emulsion.
7. After all the silver has been added, ripen the emulsion by maintaining the
temperature at around 120 degrees F for 15 minutes with constant gentle
stirring.
8. While the emulsion is ripening, begin draining all the excess water from the
reserve gelatin. When digestion is complete, add the reserve gelatin to the
emulsion and stir until the new gelatin is completely dissolved. When you first
add the reserve gelatin the temperature of the emulsion will fall. Bring up the
temperature of the emulsion back to 120 degrees F. and dissolve the reserve as
quickly as possible. Make a notation of the time it takes for future reference.
9. Pour the hot emulsion into the glass Pyrex loaf pan and carefully slide this
into the black plastic bag. Secure the opening of the bag so that no light can
fog the emulsion. Place the bagged emulsion in the refrigerator for several
hours or until completely set to a stiff jelly. The reason a shallow dish is
used for setting the emulsion is so that it will chill faster and more evenly
than if left in the beaker.
[In the following steps it is advisable to wear latex gloves; not because of
potential silver stains to the hands, but to prevent contamination of the
emulsion from your hands.]
10. Under red safe light remove the emulsion from the refrigerator and pull the
dish from the bag. The emulsion will look white under the safe light (it is
actually bright yellow). Scoop out the firm jelled emulsion with the stainless
steel spoon and put it into the potato ricer.
11. Place the sheer white nylon fabric in the stainless steel wire mesh drainer
in the mixing bowl and squeeze the ricer to create emulsion noodles that will
fall into the center of the fabric. When the emulsion is completely noodled into
the fabric, gather the edges of the cloth and secure them with a rubber band.
Fill the bowl with cold tap water (add a few ice cubes) and move the noodle
filled fabric around for about five minutes then let soak for five more without
agitation. Change the water two more times and wash the noodles as before.
12. Drain the washed emulsion noodles thoroughly for at least 15 minutes and
then place them into a clean Pyrex beaker.* Re-melt the beaker of emulsion in
the electric crock pot at around 120 degrees F and add "finals." The finals
listed below are: chrome alum, added to make the emulsion set to a stronger film
to withstand processing, alcohol to aid in coating and thymol, to prevent
bacteria growth.
[No chrome alum in the emulsion may result in a very fragile film that can melt
off the plate if processed in chemicals or washed in water that is too warm. Too
much chrome alum will prevent the film from absorbing the chemicals effectively.
Because the characteristics of each sample of gelatin are going to be different,
the quantity of chrome alum may need to be decreased or increased as needed.]
* An old stainless steel developing tank is great for re-melting emulsions. The
light trap in the lid allows you to keep the white lights on in the darkroom
Finals
4 ml of a 5% solution chrome alum (5 grams chrome alum into 100 ml distilled
water) Add the chrome alum drop by drop
5 ml 95% grain alcohol
1 grain thymol
When the finals are added and fully incorporated into the emulsion pour the
entire contents into a brown ceramic cheese crock, cover the opening with a
piece of black opaque plastic and secure the ceramic lid with the wire spring.
Place the emulsion filled crock in the refrigerator for future use. Remove only
what’s needed when coating a batch of plates by scooping out the chilled
emulsion with a stainless steel spoon. The stock emulsion will last many months
if kept cool and protected from white light.
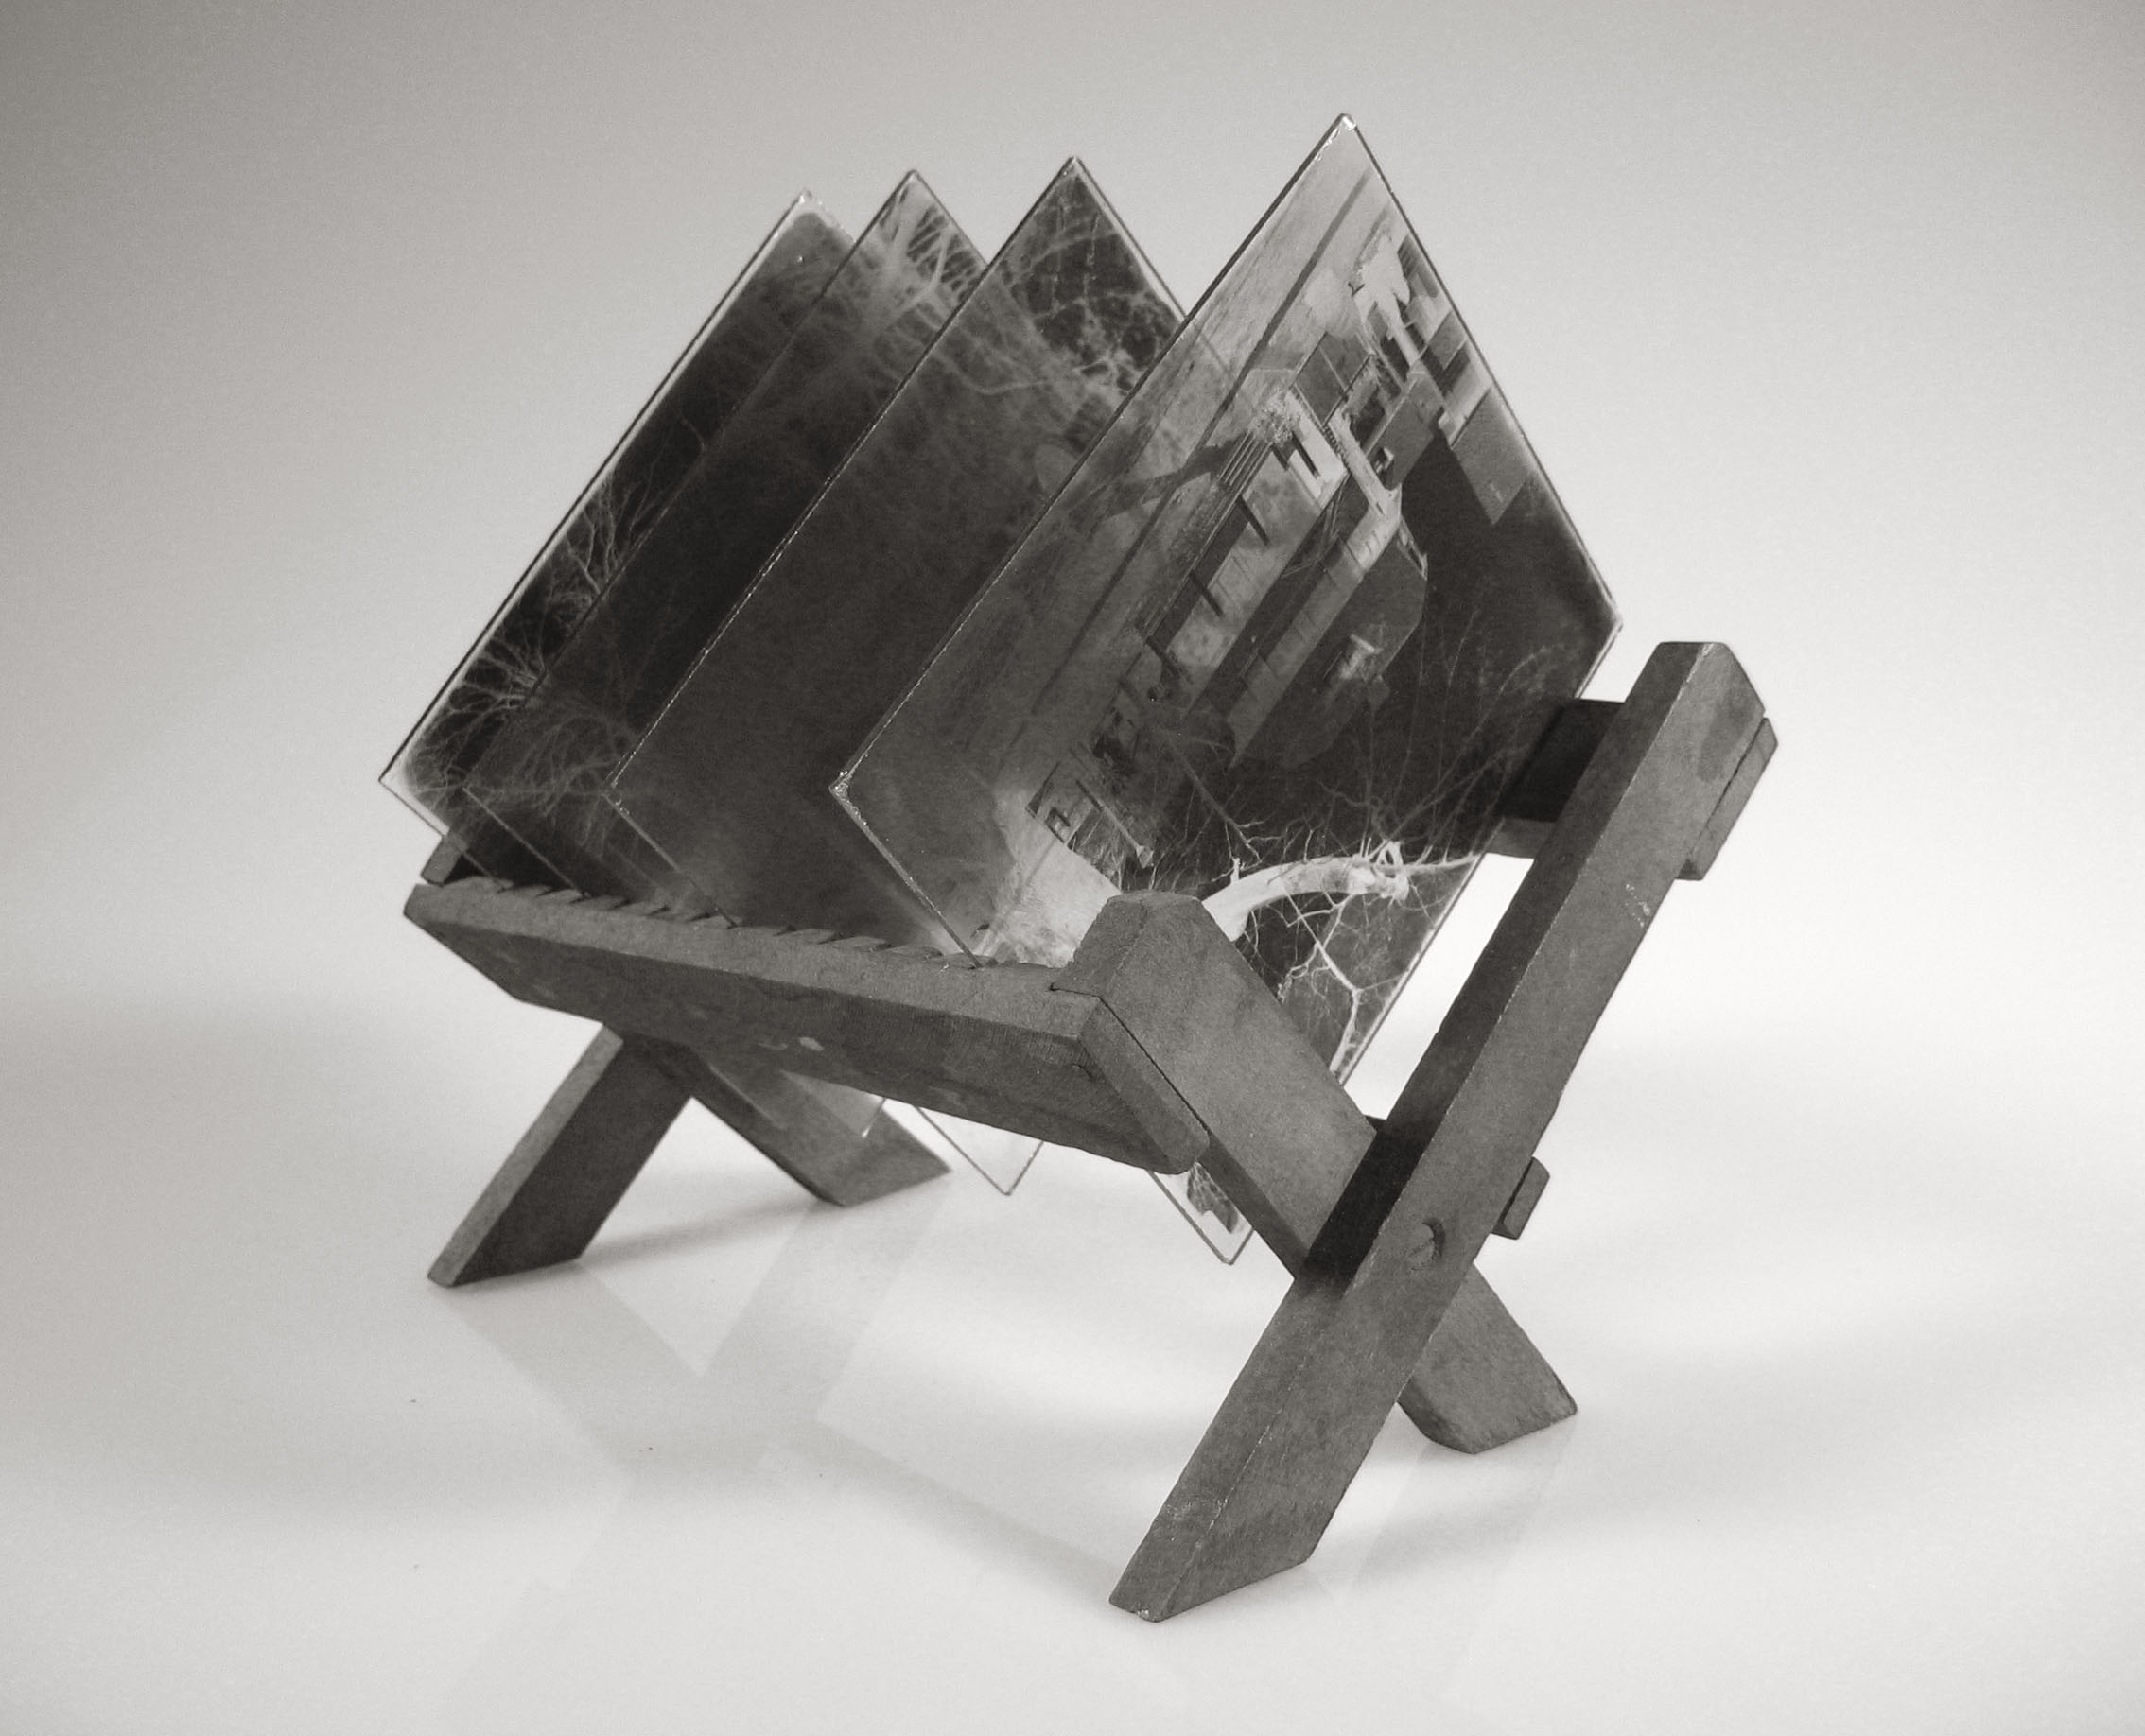
These plates are blue, violet and ultra violet sensitive and fairly slow by
modern standards. Assume an ISO rating of between 5-10 as a starting point. They
are developed under red safe light, by inspection, which is a great advantage.
|