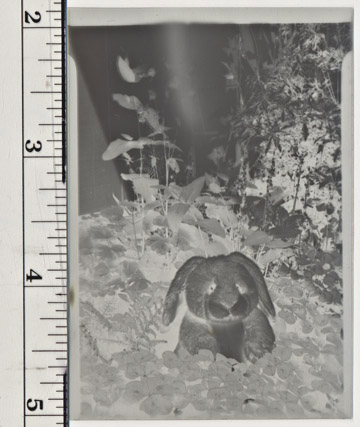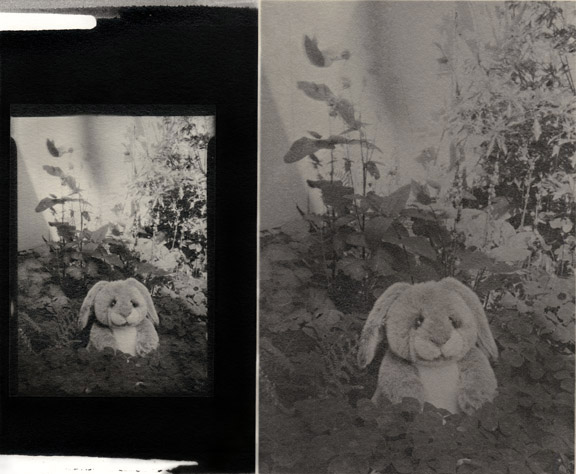
Two prints from the same batch of emulsion, processed in the same tray
of developer, only several minutes apart.
The prints were scanned side-by-side at the same time. They are
standard recipe 'I♥' with photo
grade sodium chloride, coated on Fabriano Artistico Extra White, HP
watercolor paper.
The enlarger is assembled with just the bulb and the condenser
lenses. I didn't use a UV filter or heat-absorbing glass.
Handmade paper (at least this recipe) is basically sensitive to only UV
light.
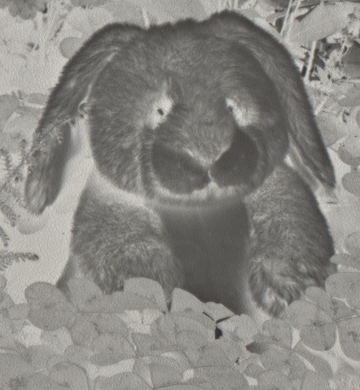
The print on the left was contact-printed under a GE 'halogen 75' flood bulb, 5
ft away from the printing frame. Exposure was one second.
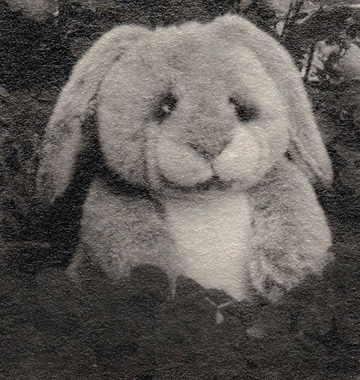
The print on the right was enlarged under the Omega with a standard
enlarger bulb (at least 20 years old!) 14 inches from the lens and
about twice that distance from the light. The exposure was 1 minute at
f/11. The print size is 3.5 x 5.25 inches. Exposure time
will go up significantly with increased enlargement, but I think it will
still stay acceptable to anyone determined to avoid enlarged inkjet
negatives for contact printing.
The only 'trick' necessary with handmade printing paper is getting
the paper flat. That's not a problem in a glass contact printing
frame, but I couldn't figure out what to do for enlarging. Even
if I had the money to buy a vacuum easel, I don't have the space.
The answer is wonderfully simple. I wet the paper and gently squeegee'ed
it down to a sheet of glass under the enlarger. I focused and
registered the negative ahead of time, just like with standard enlarging
practice, but in addition I placed pieces of tape along two edges to
guide my wet paper placement. The print looked a little soft when
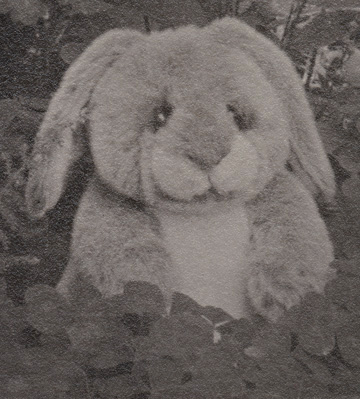
it was wet, but it dried perfectly. Print image quality is greatly influenced
by the quality of the light used. The enlarged print is much lower
in contrast, but given allowance for being an enlargement, it is
relatively as sharp as the contact print. Next week, I'm going to
make up a half dozen different developers and see if I can lift the
contrast a bit that way.
|